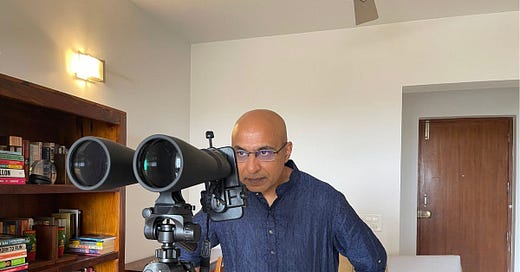
The night sky is a miracle of infinitude.
Stargazing has always fascinated me, but the journey has not been without its challenges. My struggles with setting up for stargazing, combined with a request from a few friends, have prompted me to share what I have learned.
You will notice that the format of this article is slightly different from my usual posts and that is because of the nature of the topic and the content. With that said, let us dive right in.
Based on my own experience and conversations with others, it turns out there are two key questions that often arise in amateur astronomy and astrophotography: Should one invest in a telescope or a pair of binoculars? And, once the choice is made, how should it be set up? In this article, I aim to address both questions, focusing on why binoculars are often the preferred choice for beginners and how to set them up for a rewarding stargazing experience.
What should we choose?
Choosing the right equipment is often the first challenge for amateur astronomers. Here is what I have learned from my own experience.
Having owned a telescope before switching to binoculars, I have found that starting with a pair of binoculars is often a wiser choice for beginners.
Why?
Many beginners underestimate how quickly planets and celestial objects move across the sky. While telescopes offer precision, they require frequent adjustments to track objects—especially without a high-end, motorized model. Binoculars, on the other hand, provide a simpler and more accessible starting point.
Additionally, selecting the right lens for a telescope—knowing when and why to use it—requires practice and patience. Capturing good images through a telescope can also be challenging, particularly when attaching a phone. The combination of gear and lenses adds complexity, and portability often becomes a significant issue.
In contrast, binoculars are portable, more affordable, easier to operate, and offer instant gratification.
Given these advantages, binoculars often serve as the ideal starting point for budding astronomy enthusiasts.
How should it be set up?
Once you have made your choice, setting up your equipment properly is key to a rewarding stargazing experience. Whether you choose binoculars or a telescope, understanding the setup process ensures better results and less frustration.
Binoculars + phone setup
1. Basic setup
Based on our past experience with a telescope, we decided that a pair of binoculars with good magnification and a sufficiently large objective lens would better suit our needs. We chose the Celestron Skymaster 15x70 binoculars. Here, '15' refers to the magnification, while '70' (mm) represents the diameter of the objective lens—the lens closest to the object being viewed.
Tripod considerations
Binoculars up to 10x50 can typically be hand-held, but larger models, like the 15x70, require a tripod for stability.
If you plan to connect a phone or camera, a sturdy tripod is essential regardless of binocular size.
Choose a tripod that allows for smooth, multi-directional movement, with levers and knobs for easy adjustments.
Attaching the binoculars
Ensure your binoculars have a built-in placeholder or adapter slot for attaching them securely to the tripod. This step is crucial for stability and a better viewing experience.
Other accessories
To make your stargazing sessions more seamless and enjoyable, here are a few essential accessories to explore.
Consider using a third-party camera app, such as NightCap or alternatives as the native app may lack control over settings like exposure, ISO, focus modes, and White Balance.
Free apps like Stellarium or Skyview (Android / iOS) are excellent tools to familiarize yourself with the night sky and track celestial objects.
An app like Snapseed can help you make minor edits and adjustments to the images.
A bluetooth camera shutter remote (available online for as little as INR 300) is highly recommended. It allows you to take pictures without physically touching the phone, preventing even minor vibrations that could distort the final image.
An L-clamp/adapter to securely mount the binoculars on a tripod.
A mobile holder clamp that attaches to one of the eyepiece lenses, allowing you to align your phone for capturing images.
2. Setting up the binoculars on the tripod
This can either be the fun or the challenging part—depending on your perspective!
Familiarize yourself with the binoculars
Start by viewing stationary objects during the day to get a feel for the binoculars. This step is crucial to ensure you are comfortable with their handling.Set up the tripod
Adjust the tripod to the desired height by extending its legs. This is usually straightforward and requires no extra effort.Attach the L-clamp
Secure the L-clamp to the tripod’s mounting slot. While mechanisms may vary slightly between tripods, the process is simple and intuitive.Attach the binoculars
Most binoculars have a central slot designed to fit onto the L-clamp. Secure them carefully to ensure they are sturdy and well-balanced.Test the setup
Once the binoculars are securely attached to the tripod, practice viewing familiar stationary objects, such as buildings or treetops, to ensure stability and alignment.
This process might feel tedious initially, but with a bit of patience, it only gets easier.
3. Setting up the phone with the binoculars
This can be the most frustrating part at first, but once you master it, it becomes one of the most enjoyable aspects of the experience.
Start with the eyepiece
Most binoculars have rubber casings on the eyepieces (the part closest to your eyes). Peel back one of these casings—typically the one on the left side.Attach the mobile holder clamp
Secure the mobile holder clamp vertically onto the peeled-back casing. Ensure it sits snugly and aligns with the binocular lens. The goal is to position the mobile camera lens as close as possible to the binocular lens for optimal alignment.Attach the phone to the clamp
With the camera app open on your phone, attach it to the clamp. Adjust the phone by sliding it up, down, or sideways until the desired object is visible and centered in the camera view.Handle the angle
Due to the placement of the mobile camera lens, the phone will often sit at an angle rather than straight. This is normal, so do not worry about the alignment.Fine-tune with the clamp knob
Use the knob at the back of the mobile holder clamp to move the phone up, down, or sideways. Once you achieve the correct view, tighten the knob to secure the phone and binoculars together snugly.Practice during the day
Test the setup during the day with stationary objects, but never point the binoculars directly at the sun for safety reasons.Patience for night observations
The first time you set this up outdoors at night, it may take a few attempts to get it right. Do not give up—it becomes much easier with practice and patience.
With time, this process transforms from a challenge into a fun and rewarding part of your stargazing adventures.
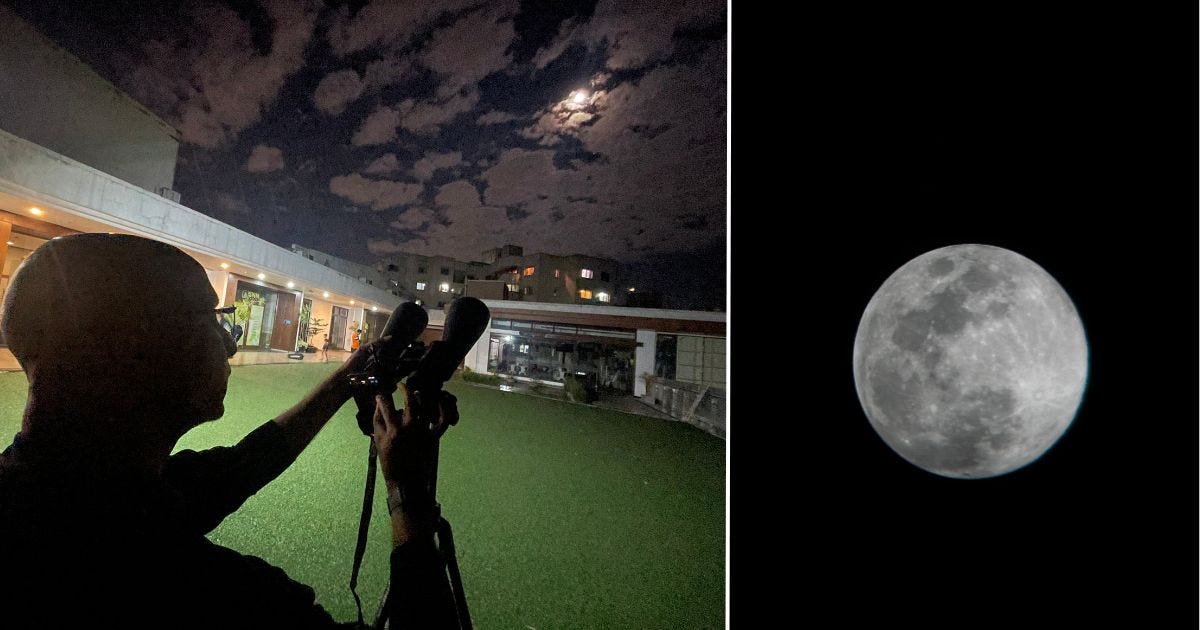
A picture of the moon taken with this setup
4. Key takeaways
Start with binoculars for an accessible and rewarding experience.
Use essential accessories like a tripod and phone holder for stability and clarity.
Patience and practice make stargazing easier and more enjoyable over time.
I hope this serves as a springboard for your own celestial adventures, making stargazing a simpler and more enjoyable experience. Wishing you clear skies and countless moments of wonder under the stars.
To make your journey into stargazing even smoother, I have shared links to some helpful products below. These tools have been invaluable in my own experience and might just be what you need to get started.
I would also like to take a moment to acknowledge the contributions of those who inspired and supported this article—you will find their names below.
I would love to hear your thoughts, ideas, or suggestions on what could make stargazing and setting up the gear an even more enjoyable experience.
Links to recommended products:
Celestron 71009 15x70 Skymaster Binocular: https://amzn.in/d/8rqV7wy
Tygot X2 Pro Professional 70 Inch (180CM) Tripod: https://amzn.in/d/0h3MZyC
GOR®️ Binocular Accessories and Combo Pack (Phone Holder): https://amzn.in/d/7p6vKg2
Sounce Shutter Remote Control with Bluetooth: https://amzn.in/d/cG8PquR
Binoculars L-Adapter: https://tejraj.com/product/binocular-l-adapter
Acknowledgments:
This article would not have been possible without the contributions and support of the following individuals:
Rajdeep Singh: For inspiring me to write this article.
Sasha Ranganath: For recording and editing the video.
Shubha Ranganath: For providing creative and content inputs.


This is really insightful Ranga. What would you recommend someone who has not yet started stargazing but wants to explore it? Is there a group / place to experience before becoming serious about it?